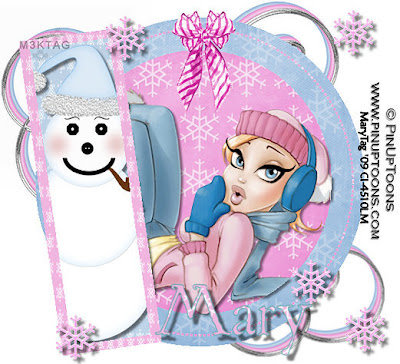
Tube of choice,I am using PinUpToons,which you can purchase here,do not use unless you have a license to do so.
Scrapkit is a Snowy mini kit,a freebie from Melissa at Pink Quixotic here. Thank you Mellie,love it!!
Template of choice,I am using template 32 by Aqua Rebel315 here. Thank you Aqua!
Font of choice,I am using St.Nicholas here.
-This tutorial was written assuming you have working knowledge of PSP-
Open template/delete credit layer.
Highlight and click on raster 1 layer with your magicwand/paste paper 7 into selections(edit)/deselect.
Repeat with copy of raster 1 layer using paper 6/do not deselect.
Paste tube of choice as a new layer/position/selections/invert/delete/deselect/dropshadow:
Vertical 3
Horizonal 3
Opacity 47
Blur 4
Highlight raster 2 layers(dots)/selections/select all/float/defloat/paste papet 6 into selections/deselect.
Highlight and click on raster 3 with your magicwand/paste paper 1 into selection/do not deselect.
Paste the snowman as a new layer/resize 30%/edit/repeat resize/position/selections/invert/delete/dropshadow:
Vertical 4
Horizonal 4
Opacity 50
Blur 4
Highlight and click on raster 4 layer(frame)/paste paper 4 into selections/deselect.
Highlight white background layer/edit/copy merged swirl 2/paste as a new layer/resize 50%/layers/duplicate 2 times/position with your pick tool.
Paste bow 2/resize 50%/edit/repeat resize/position/same dropshadow we last used.
Paste snowflake 4/resize 50%/edit/repeat resize/layers/duplicate 4 times/position/dropshadow:
Vertical 5
Horizonal 5
Opacity 56
Blur 5
Add copyrights.
Add name.
Layers/merge/merge visible.
Resize all layers 5%.
Save.
Hope you enjoyed my tut,would love to see your results.
Email me
Hugs,Mary


No comments:
Post a Comment